So you've purchased the Yosemite National Park Embroidery Kit and you're ready to start stitching. Yay! Here are some extra photos and tips to take your embroidery project to the next level. Every Keller Kit is designed so that you can stitch as much or as little as you want and it will still look amazing! No overwhelm, just pure creativity and relaxation.
Don't forget to tag @KellerDesignCo if you post your embroideries to IG. Let me know if you have any questions- I'm happy to help out!
Happy stitching!
Amy

Warm Up and Practice Stitches
When I'm stitching almost any pattern, I almost always have an extra piece of white fabric to practice my stitches on. This can be any color really, just a screap piece of fabric that you can use to practice stitches or see how colors will interact with each other. Each kit I design comes with all the essential colors of thread you will need, but sometimes you want to add in a new color you like. Perhaps stitch the words Yosemite in a different color or use back stitch instead of stem stitch.
By using a scrap piece of fabric, you can test things out before going to your final piece of embroidery. It's a place to play and not worry about getting it right. A place to practice.
Here are some samples of my practice stitches for a few other projects I'm working on. It's like a a stitch sketchbook just for you.

More Stitch Photos of Yosemite
Here are some more of my stitches for inspiration!
Backside of Yosemite Emboroidery. I like to keep my backsides pretty neat so there are no long "tails". These are where there is a long piece of thread on the back when you travel from one stitch area to another. I would keep these lenths to less than an inch.

As you stitch around the letters, shorten your stem stitches where there are tight corners. You can also use some back stitches or striaght stitches if you need to for small spaces.


Stitch the trunks of the trees first and then layer in the branches.


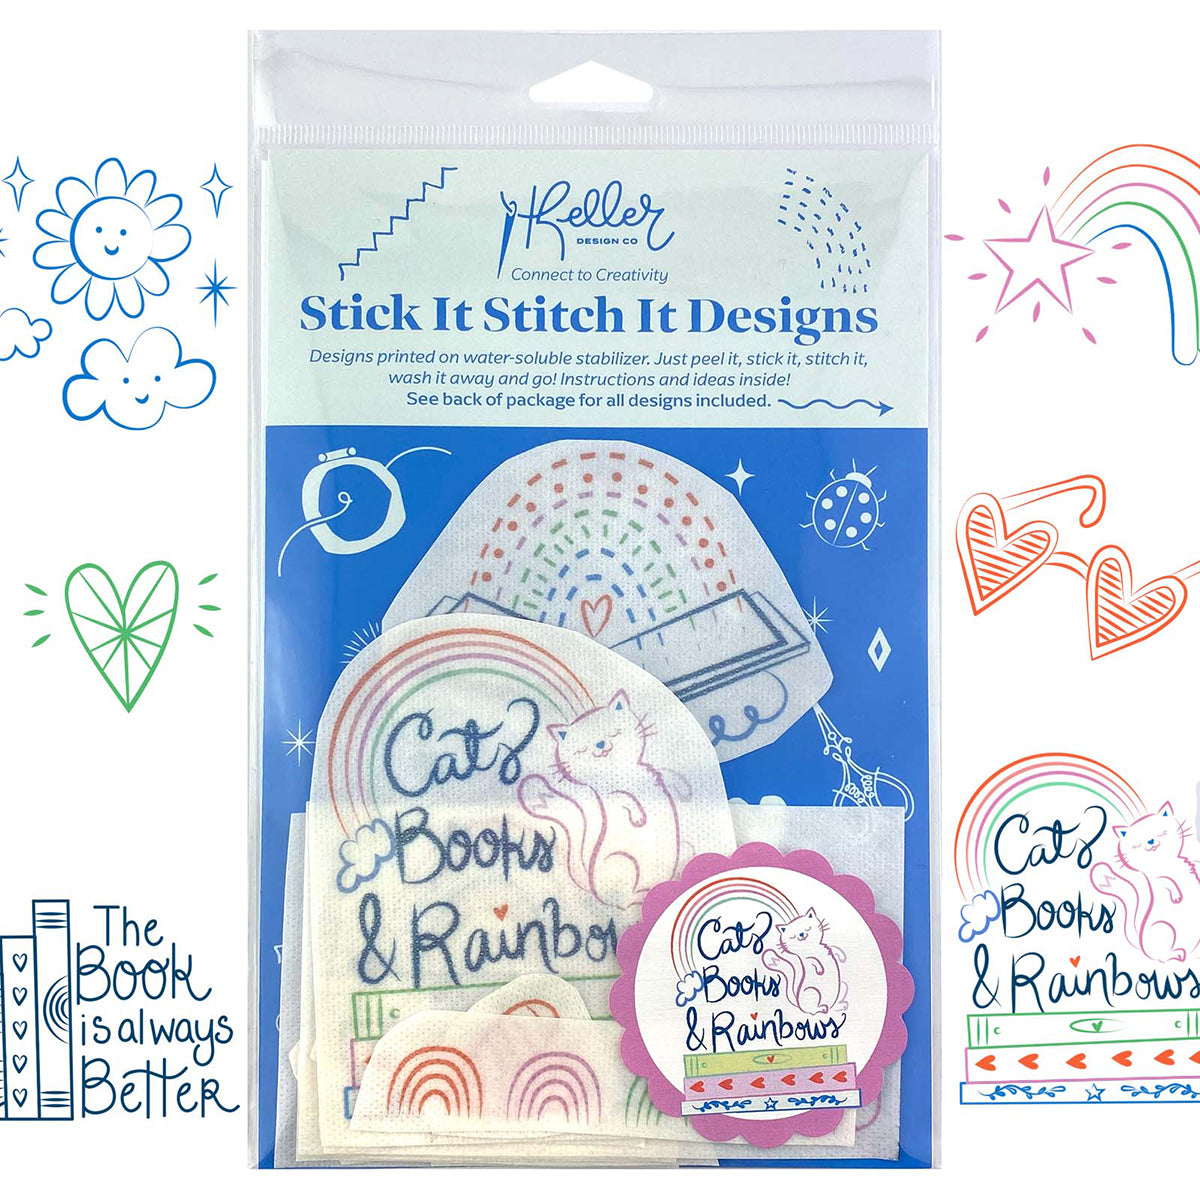
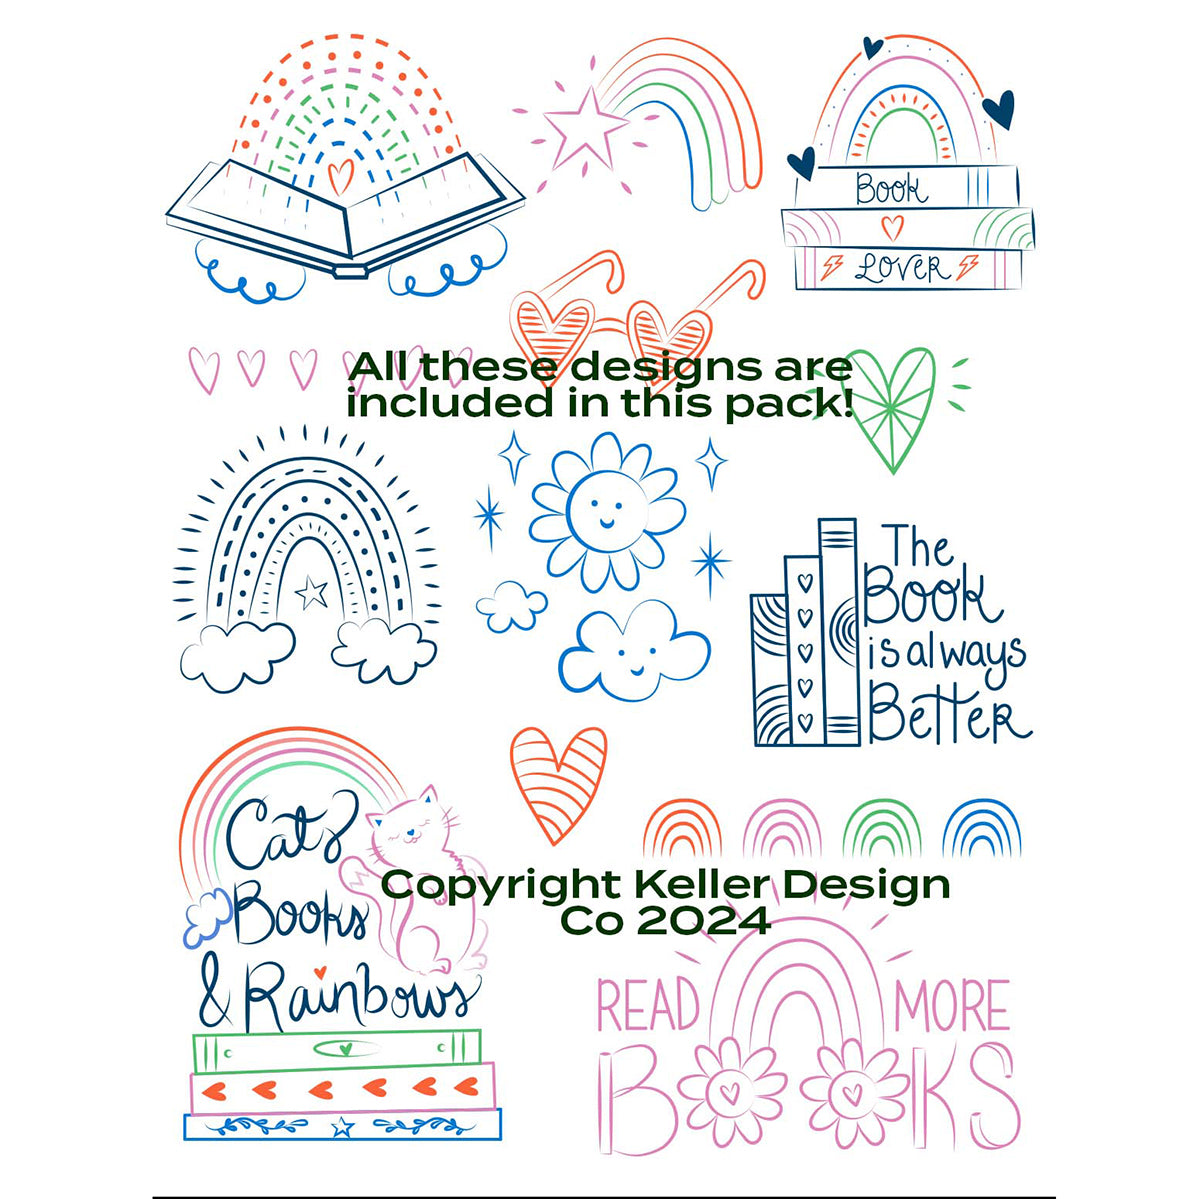
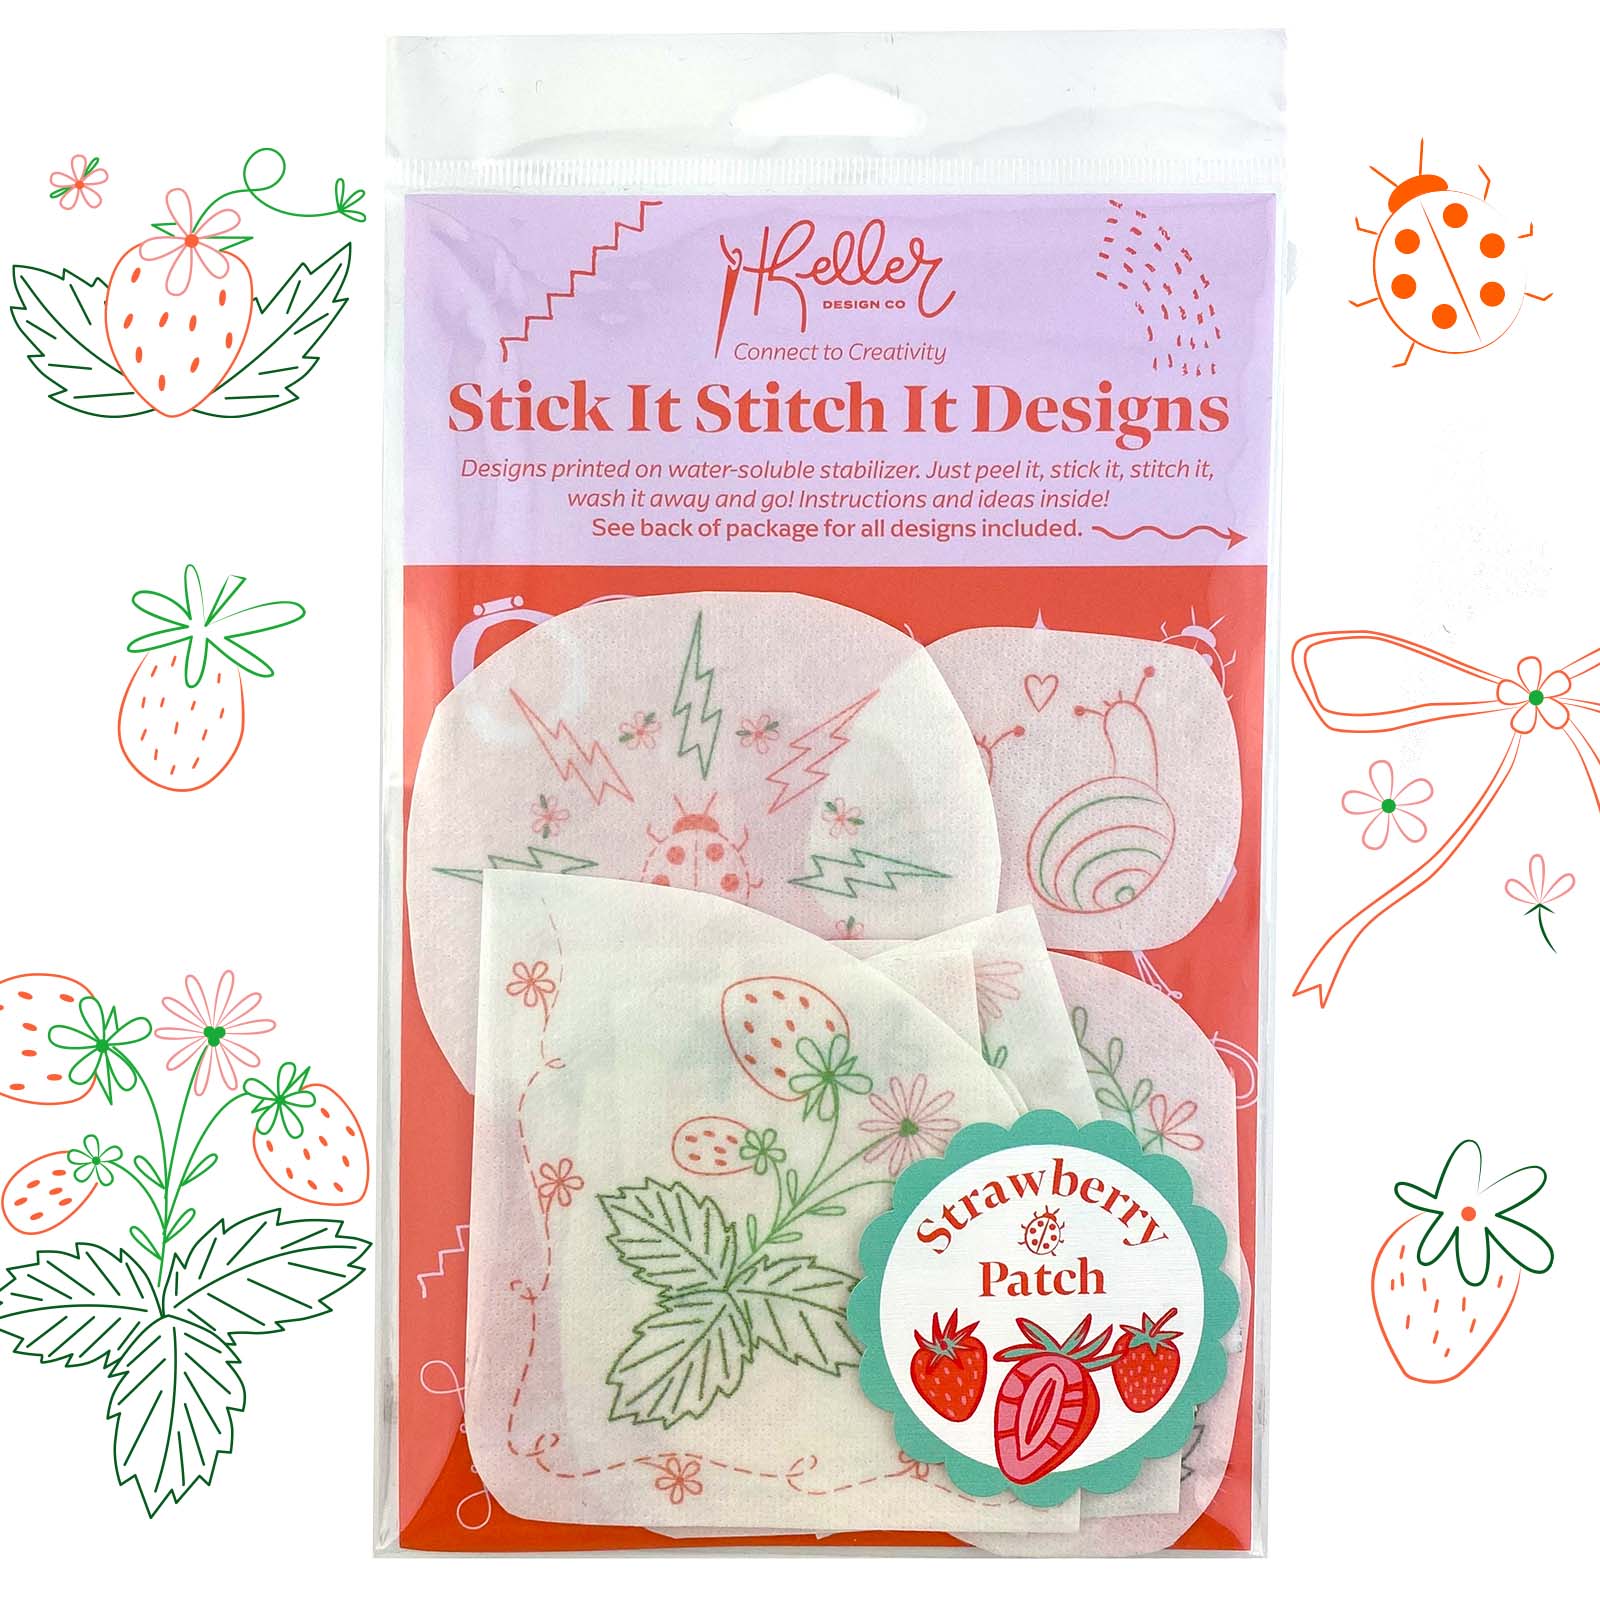
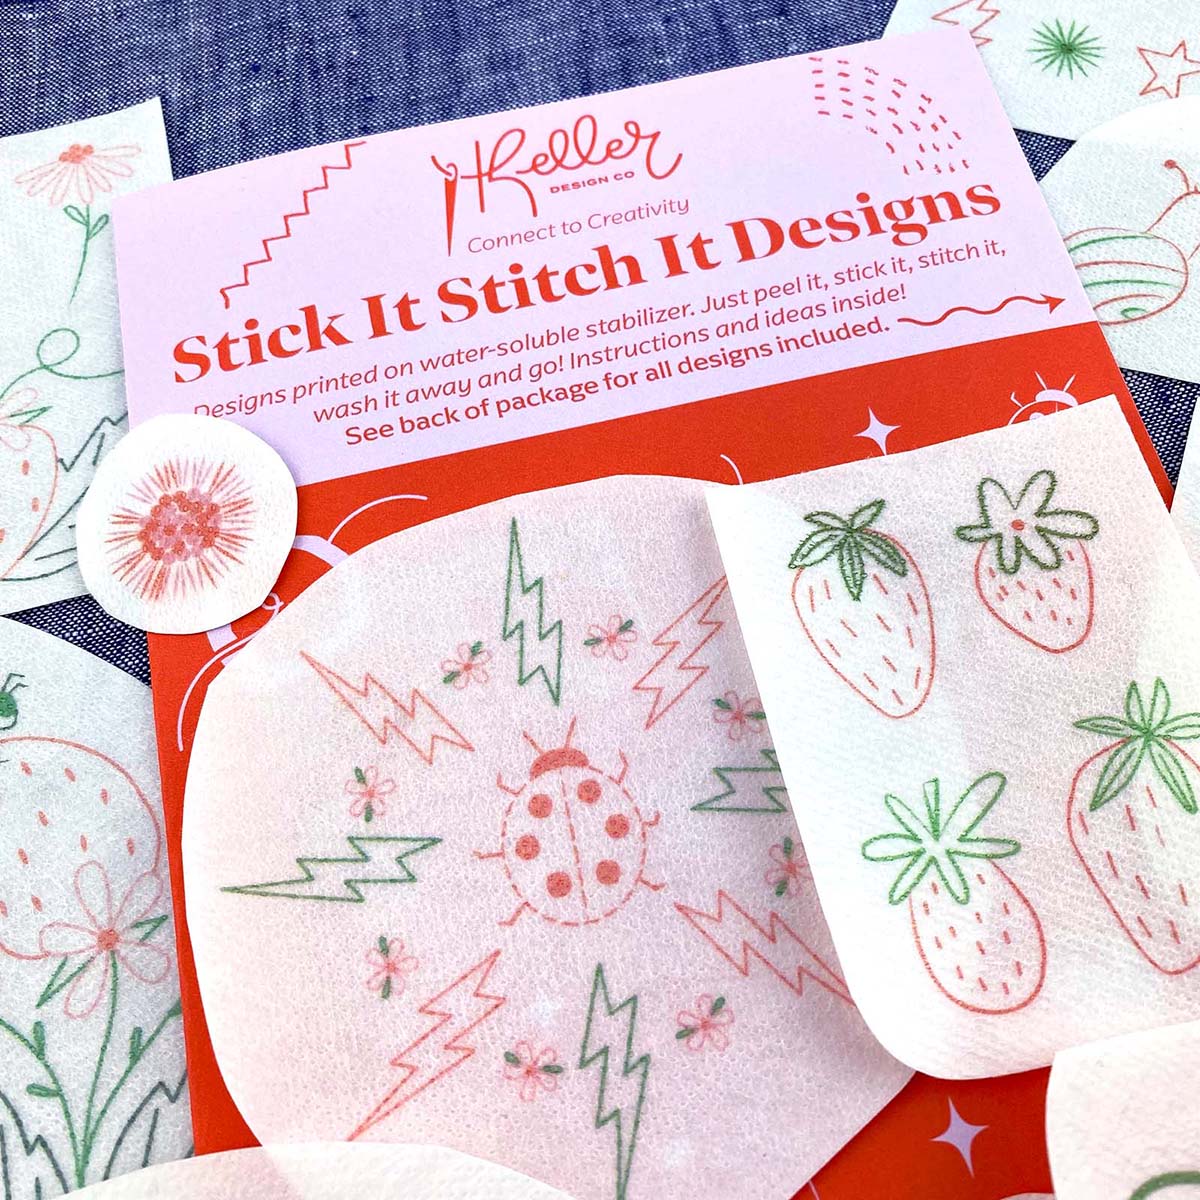
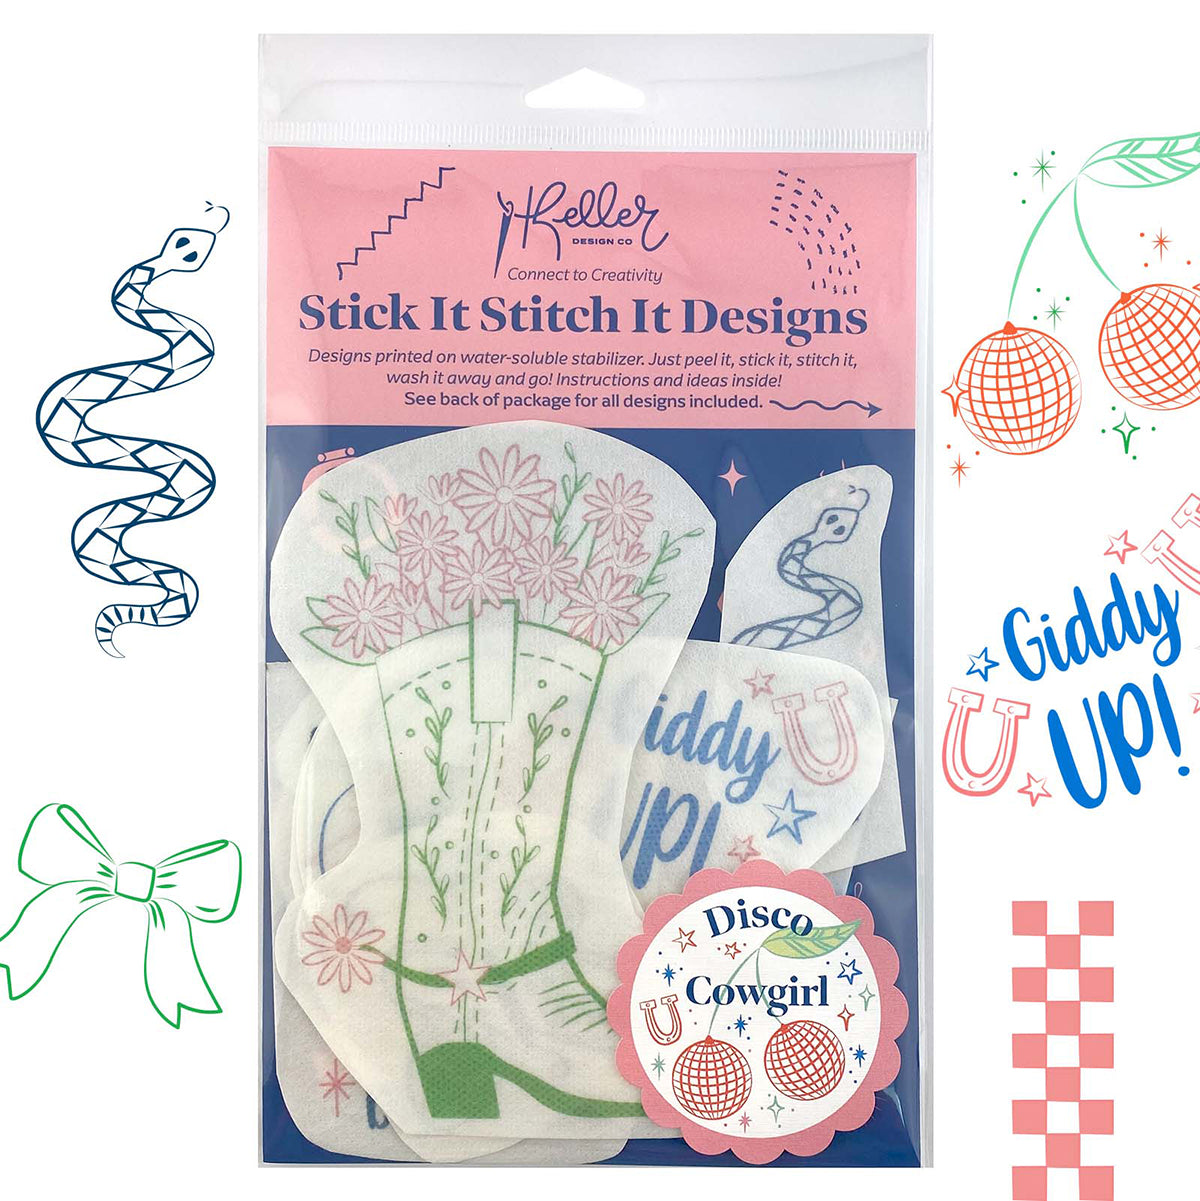
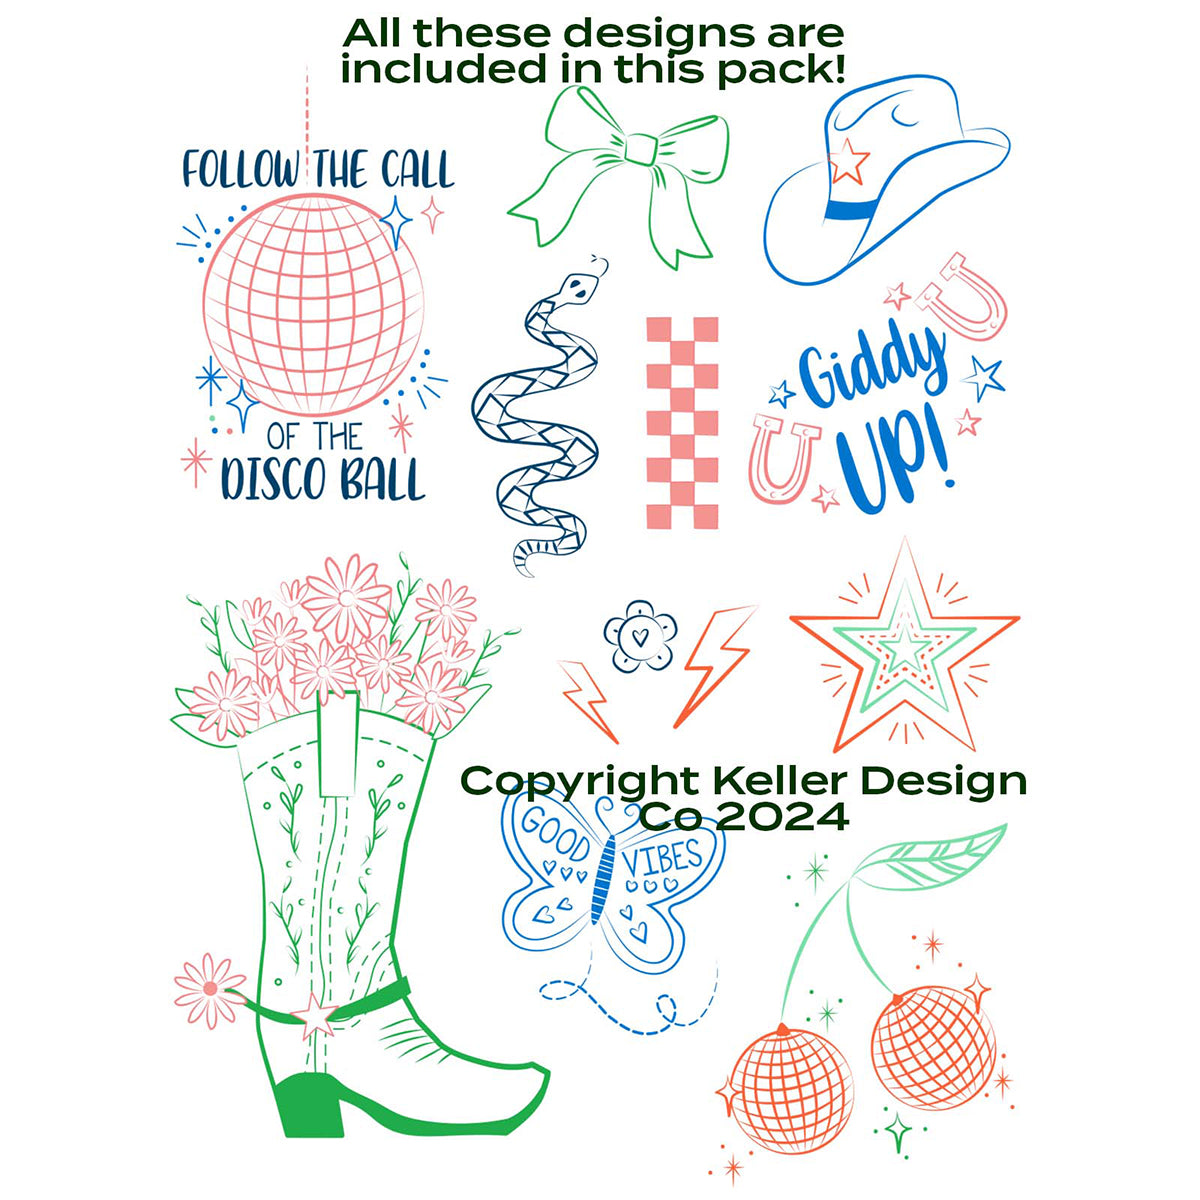
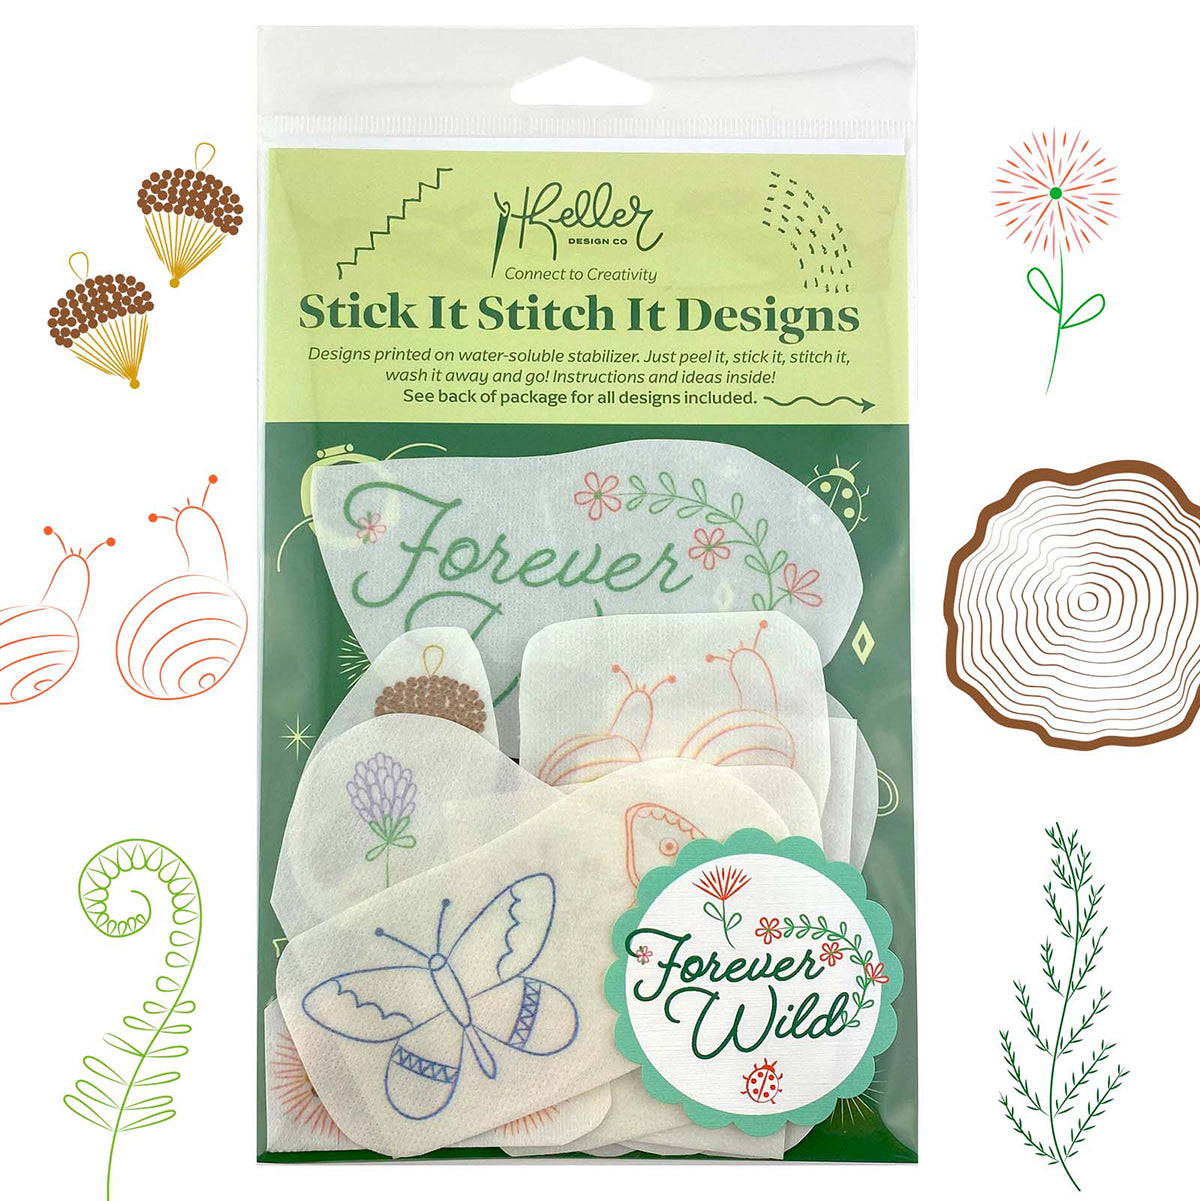
Collect all the kits! More coming...
Did you enjoy stitching this kit? There are more and I'm always adding to my collection of embroidery kits for you to stitch.

Frame Options
Explore different framing options for your finished embroidery piece. My favorite frames are from Modern Hoopla. You basically keep the fabrc in the frame and then secure the hoop into the back of the wood frame. They are simple, beautiflly made and modern.
You can also take your embroidery to a local frame shop and have them frame it for you. My favorite frame shop in Portland is Luke's and I've been going there for years! They are so professional and do a great job of framing my embroideries.
Personal Touch
Don't be afraid to add your own personal touch to the embroidery design. Other colors of threads, beads or metallic threads add a lot of texture and interest to the design.
With these extra photos and tips, you can enhance your Yosemite National Park Embroidery Kit and create a beautiful piece of art that you'll be proud to display. Happy stitching!


Leave a comment (all fields required)