I LOVE bandanas!!! And strawberries!
Do you love bandanas as much as I do?! I hope so! I've collected upwards of 10 (maybe more;) over the years and they are so great for everyday styling, so many ways to wear them. They are great for camping or hiking, wiping up just about anything. On hot days I like to stay cool with a frozen bandana. I take a damp bandana and fold it up into a square. Pop it in the freezer for an hour or so until it's frozen, you can unfold it and wrap it around your neck or drape over your head. You can also fold ice cubes into a bandana, wrap it up and tie around your neck for some stylish cooling.
As you stitch your bandana I'd LOVE to see your progress! Post it to IG and tag me @KellerDesignCo !
Happy stitching,
Amy
If you purchased my Strawberry Patch Bandana kit, you should have received the following in your kit:
- 22" bandana
- DMC 6 strand embroidery threads (full skeins! yay!)
- 2 needles
- Instruction packet
- Type sheet so you can stitch your name or monogram!
- You can download my Stitch Guide here to get started, learn new stitches or brush up if you haven't stitched in a while
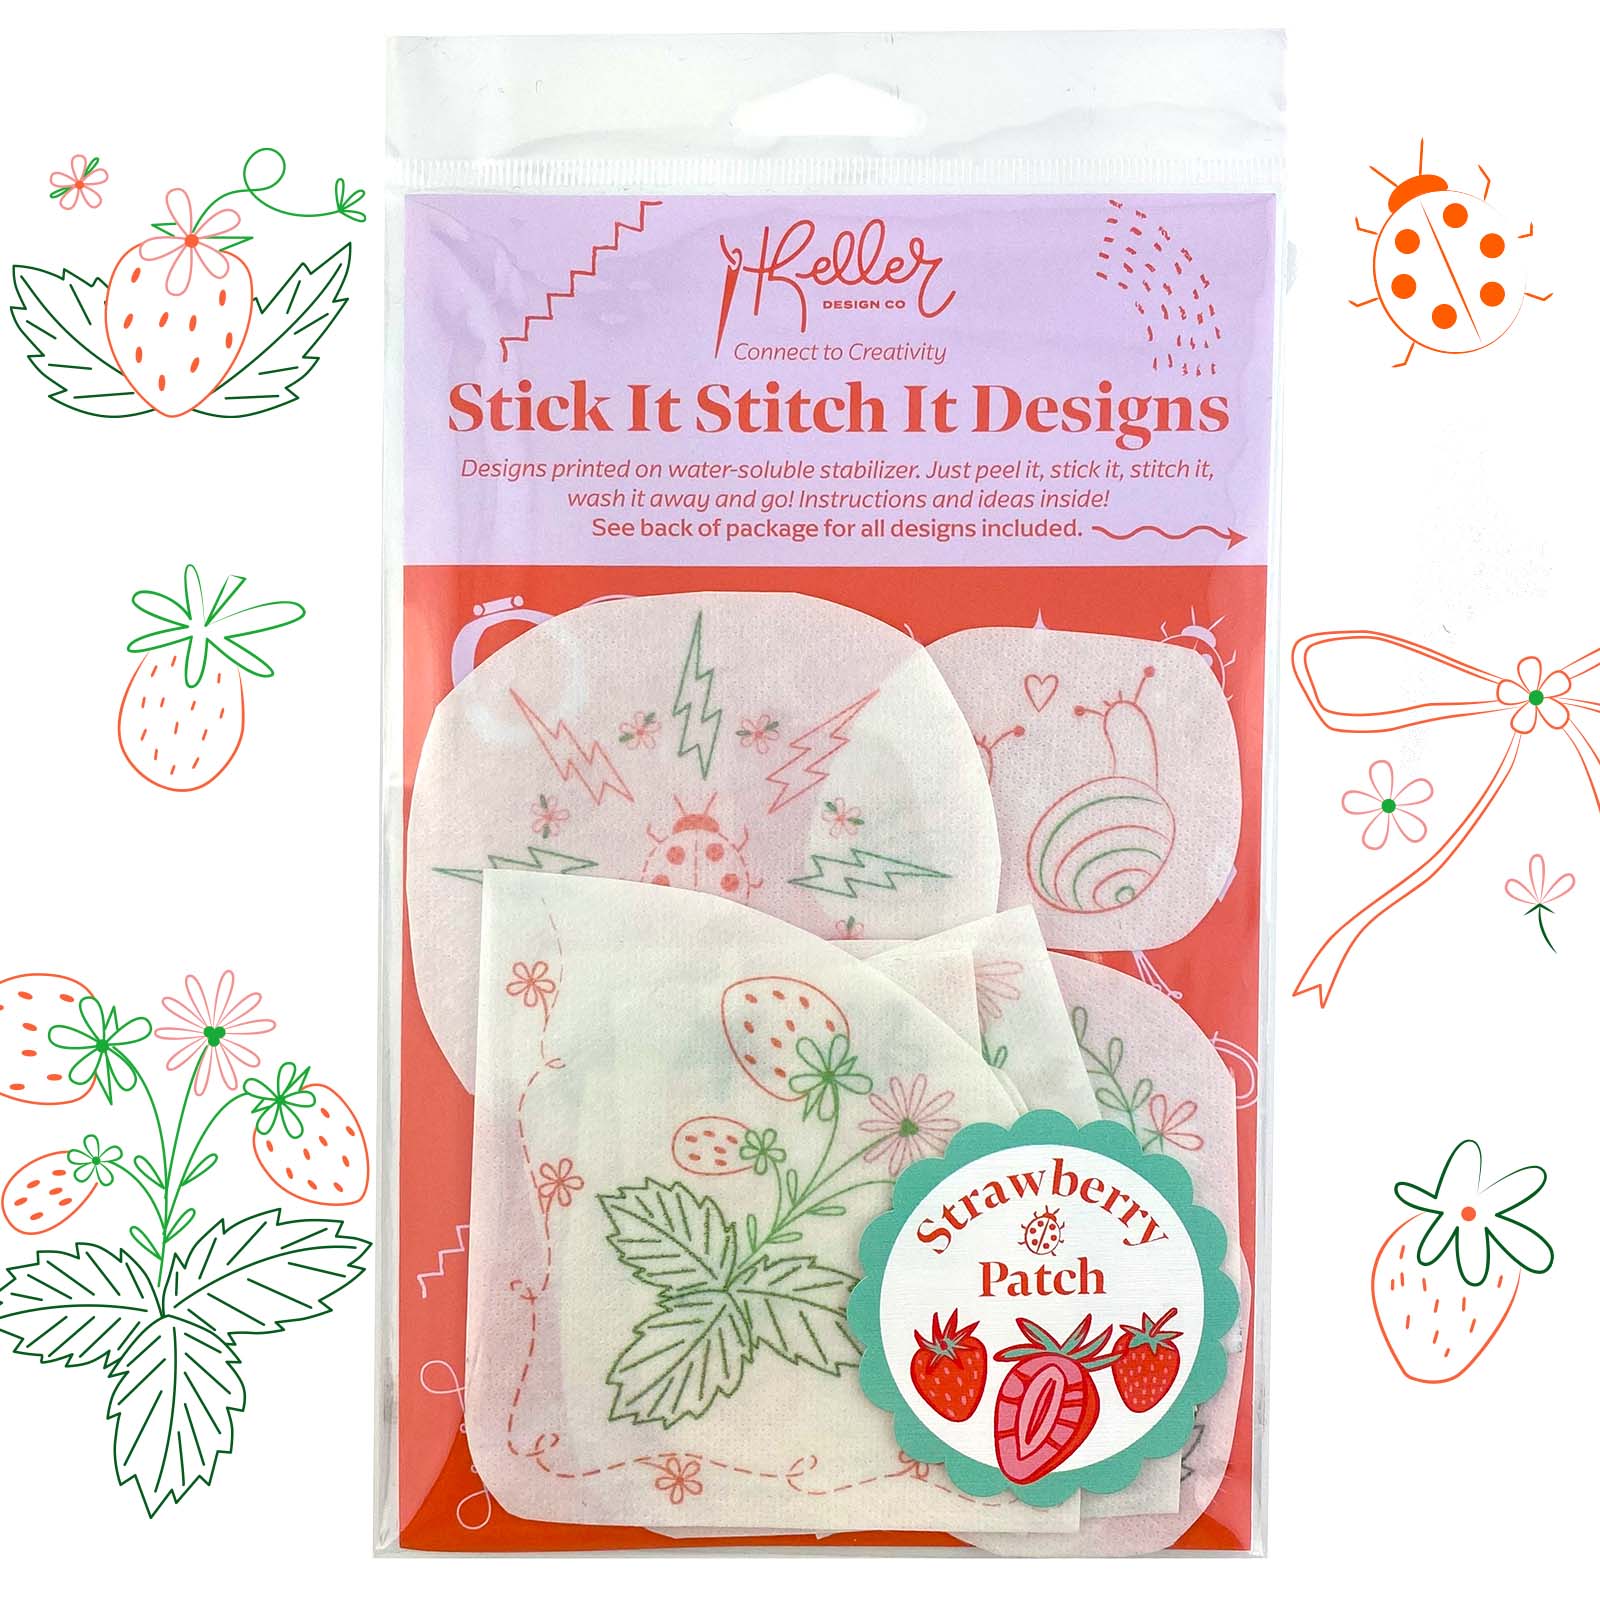
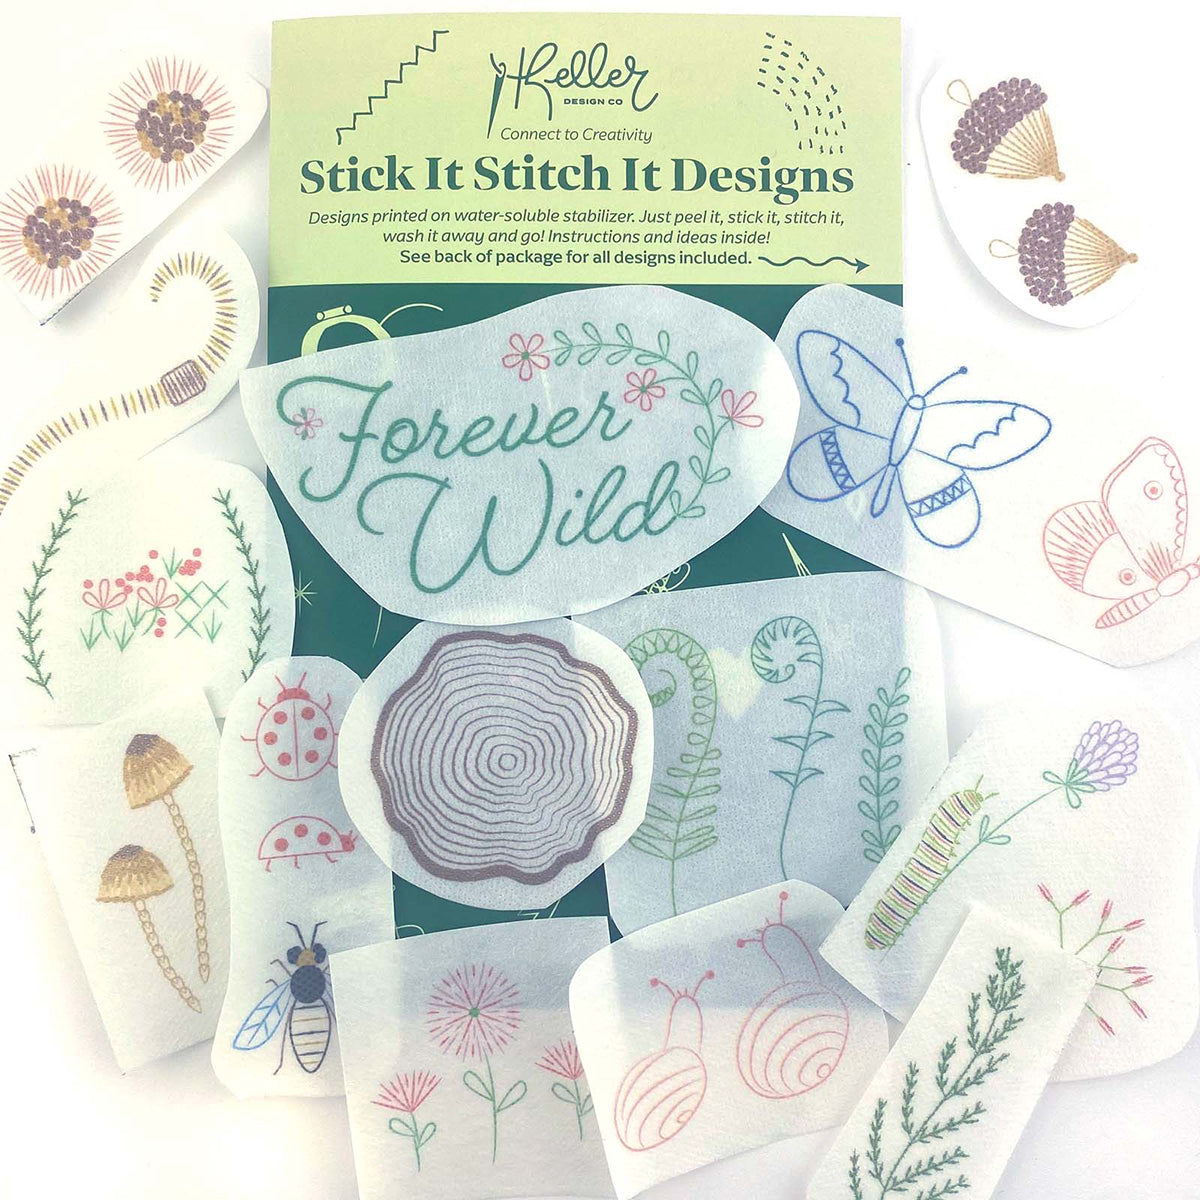
- water soluble stabilizer designs

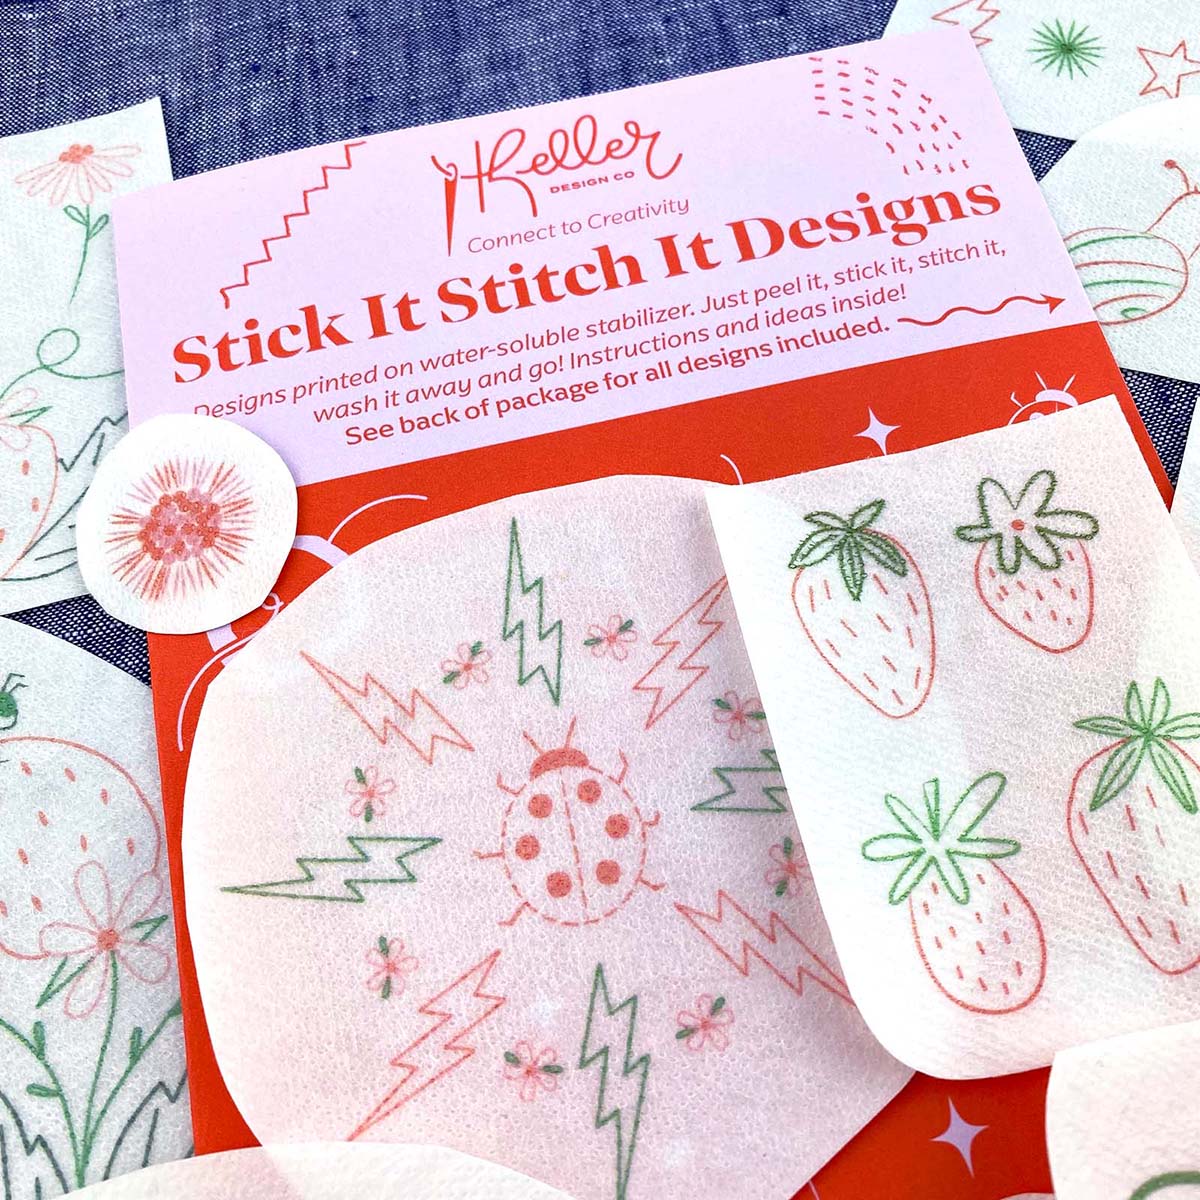
If you've never used water soluble stabilizer, let me tell you, it's amazing. Peel it, stick it, stitch it, wash it. Enjoy! It really is that simple. Here are a few photos and tips to help when you're starting out.
Warm Up and Practice Stitches
When I'm stitching almost any pattern, I almost always have an extra piece of white fabric to practice my stitches on. This can be any color really, just a scrap piece of fabric that you can use to practice stitches or see how colors will interact with each other. Each kit I design comes with all the essential colors of thread you will need, but sometimes you want to add in a new color you like.
By using a scrap piece of fabric, you can test things out before going to your final piece of embroidery. It's a place to play and not worry about getting it right. A place to practice.

How To Use the Stick It Stitch It Designs
The kit you have has all the designs cut out already. But you might need or want to trim the edges a bit more. Just do that with a pair of regular scissors. Don't trim too close to the edge of the design, making sure to leave about 1/4" of space.

If you are having a hard time separating the sticky sheet from the backing sheet hot tip here! Take the tip of your needle and poke a tiny hole and pull it away from the backer.


When you have your design(s) separated from the backer, place the sticky side down onto your bandana. It's removable, so you can change the placement if you want to. Below I've included some ideas of how you can layout the designs on your bandana. Stitch a little or a lot!

Time to start stitching! Stitch as you normally would-use a hoop or not. I've included a 4" hoop in the kit which I think is a great size for stitching small designs.
When you are stitching the bandana, I suggest to use a knot when starting and ending your threads. This will keep the threads secure. Also, snip the tails of the thread on the back close to the knot to clean it up.
Note that at any point in this process if the water soluble stabilizer gets wet, it will start to dissolve. Not to worry. Just let it dry or hit it with a hair dryer for a few minutes and then start stitching again. Also, extreme humidity will soften the stabilizer and it might get "gunky". I stitched something when I was in New Orleans ( see the shorts below) and it was super humid, so yeah, ask me how I know lol.

Once you have your design stitched, you can fill a bowl with warm water and soak the area for about 20 minutes. Or what I like to do is run it under warm water and use either my fingers or a very soft toothbrush to gently wash away the stabilizer. It will start to dissolve! It's truly magical.
Let the bandana dry and enjoy your creation!
Layout Ideas
There are SO many ways to style your bandana design. Keep it simple and stitch just one corner, or stitch around all the edges of the bandana with a cute border and a fun design in the center.

Use the type sheet to stitch your name or monogram. You can trace the letters onto the bandana using a Frixion pen that is heat erasable or a water soluble marker. You can find these at craft or fabric stores. You could also use a pencil, but it may not come out? Please test this first.


Here are some ideas for color! Stitch the outlines or full in the designs with satin stitch, French knots or oohh, chain stitch!

What to do with all the Designs? There are so many!
You can also use your water soluble designs to stitch on other things like jeans, shorts, the collar of your favorite shirt or a pocket! Here is a design I stitched onto a pair of shorts. So cute!

I hope you have so much fun stitching these designs! As you stitch your bandana I'd LOVE to see your progress! Post it to IG and tag me @KellerDesignCo !
Some juicy strawberry inspiration! Hood Strawberries from Oregon and the absolute best and juiciest.


Leave a comment (all fields required)